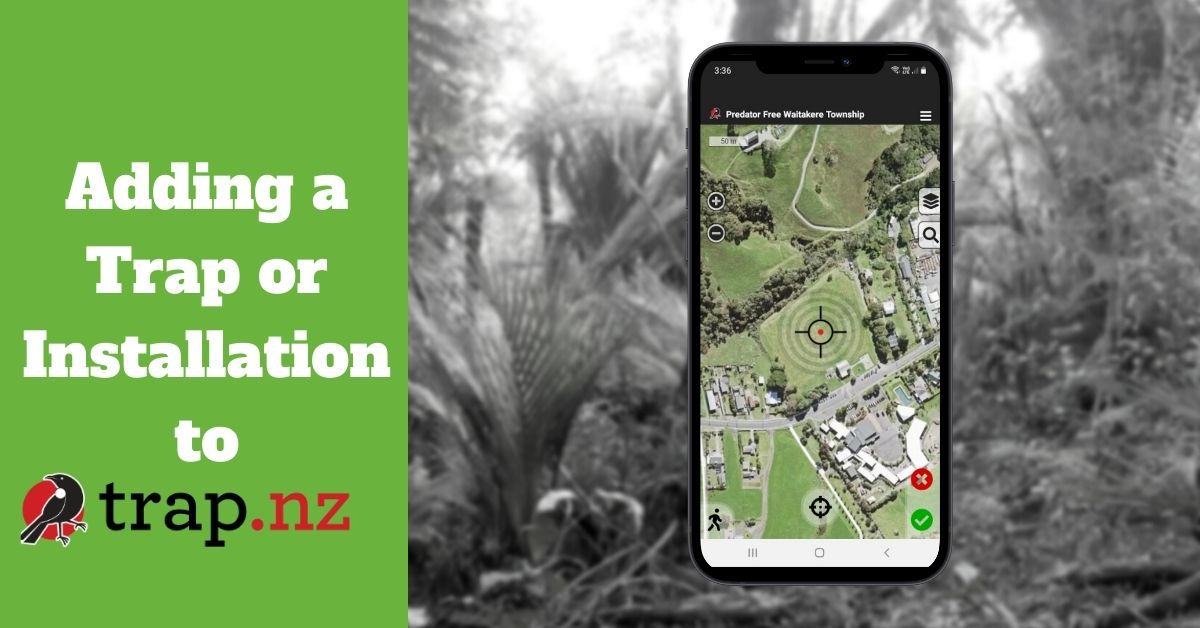
Adding a Trap or Installation to trap.nz
Trap.NZ is a FREE website to record your captures from your traps. You need to add traps before you can record any results. Here is how to do it using their Mobile Application.
This article assumes you already have a trap.nz account and that you are a member of a project.
The Steps to Add a Trap
Step 1– Install the Mobile Application on your Smart Phone or Tablet. If that made no sense, please consult a Teenager.
Install the application to your phone, using the App Store of Google Play. Or look at these links APPLE or GOOGLE
Step 2 – Visit the location where you want to install the trap, take along the Trap and Bait
Step 3 – Open up the Application on your phone and go to the Map Screen
On the Bottom Right you should see a PLUS symbol, Press this
Looking at the map screen you can move the Cross Hairs to the exact location on the Satellite view of your trap.
Once you are happy press the Green Tick Button (Bottom Right).


Step 4 – You should now see the “Add Installation” Screen, select “Trap”
Step 5 – You should now see the New Trap Screen
Here are what you can use the field for
Code: The Name you give your Trap, best to make the names unique.
Type: The Type of Trap
Description: Further details on the Trap
Trap Line: (Leave this Blank, unless you are using Trap Lines)
Camera: You take a photo of the Trap or Area
Step 6: Once you have entered all the details, select SAVE

Add a Trap Record Video
Here is a handy video from Taranaki Regional Council on how to add a Trap
Adding a trap record on Trap.NZ App
Another handy video from Taranaki Regional Council on how to add a trap record/capture.
Conclusion
Well hope that makes sense, if not please comment below and we can expand this article.

Gary is a keen trapper, who has been reducing pests on his lifestyle block in Waitakere for decades. He loves keeping bees and tries to play guitar.
